View and Add Comments
In this section, you'll learn to view and add comments to a ticket.
Write query to fetch comments
You have to create a query to fetch all the comments entered for the ticket.
On the Tickets page, select the Explorer tab to the left of the screen.
Click the + icon next to Queries/JS.
Select supportTickets query from the list of options.
Rename the new query to
getComments. Click the white space near the query templates.Write the following SQL query to pull the comments for the selected ticket in the lstTicketDetails List.
SELECT * FROM ticket_comment
WHERE ticket_id='{{lstTicketDetails.triggeredItem.id}}';
Return to the canvas by clicking the ← Back button above the query editor.
Build UI
Select the lstTicketDetails List. In the property pane, under the onItemClick event:
- Click Callbacks right under the action selector.
- Click the + icon next to the On success callback.
- Select Execute a query > getComments.
Click the first item in the lstTicketDetails List to open the mdlEditTicket Modal.
Select the Comments tab you created in the Edit Ticket Details page.
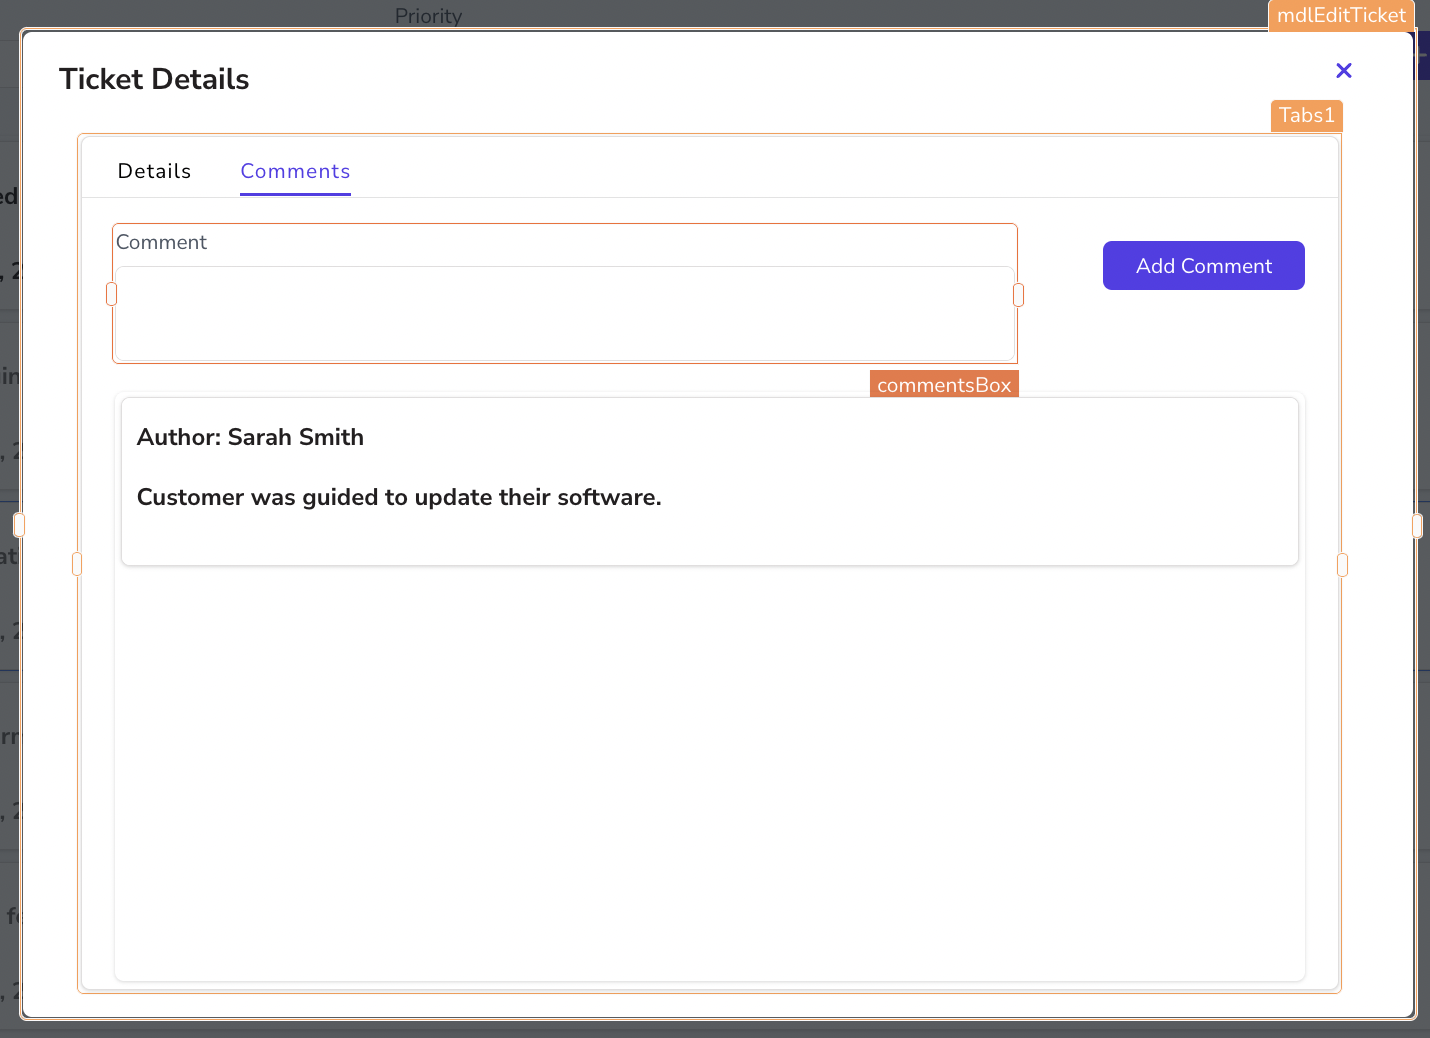
Refer to Fig 1 for the placement of widgets inside the Tab. Drop an Input widget. Set the properties as follows:
- Widget Name:
commentsBox - Data type:
Multi-line text
- Widget Name:
Drop a List widget below the Input widget.
Delete the default Image widget in the first list item.
In the Items property, enter
{{getComments.data}}to connect the query results to the List widget.You now need to display the data from the query in the two Text widgets. In step 4 above, you already connected the List widget to the getComments query. Use the
currentItemreference property of the List widget to display the data in the default Text widgets, as shown in the table below:Property Value Text Author: {{currentItem.author}}Text {{currentItem.text}}Drop a Button widget. In the Label property, change the value to
Add Comment.
The output should look something like this:

Write query to add comments
You have to create a query to add the comments entered for the ticket.
Select the Explorer tab to the left of the screen.
Click the + icon next to Queries/JS.
Select supportTickets query from the list of options.
Rename the new query to
createComment. Click the white space near the query templates.Write the following SQL query
INSERT INTO ticket_comment ("ticket_id", "text", "author", "created_at")
VALUES ('{{lstTicketDetails.triggeredItem.id}}', '{{commentsBox.text}}', '{{appsmith.user.name}}', '{{moment().format('LLL')}}');
Go back to the canvas by clicking the ← Back button above the query editor.
Add comments on button click
You have to execute the createComment query on the button click and refresh the List widget with the new comment by calling the getComments query.
Click the first item in the lstTicketDetails List to open the Modal.
In the Comments tab, select the Add Comment button.
- Click the + icon next to the onClick event.
- In the Select an action list, select Execute a query >
createCommentto run the query on button click. - Click Callbacks right under the action selector.
- Click the + icon next to the On success callback.
- Select Execute a query >
getComments.
Enter a comment and click the Add Comment button to test if the new comment shows in the List.
