Customer Support Tool
⭐ Level - Advanced
⏱️ Time - 1 hour
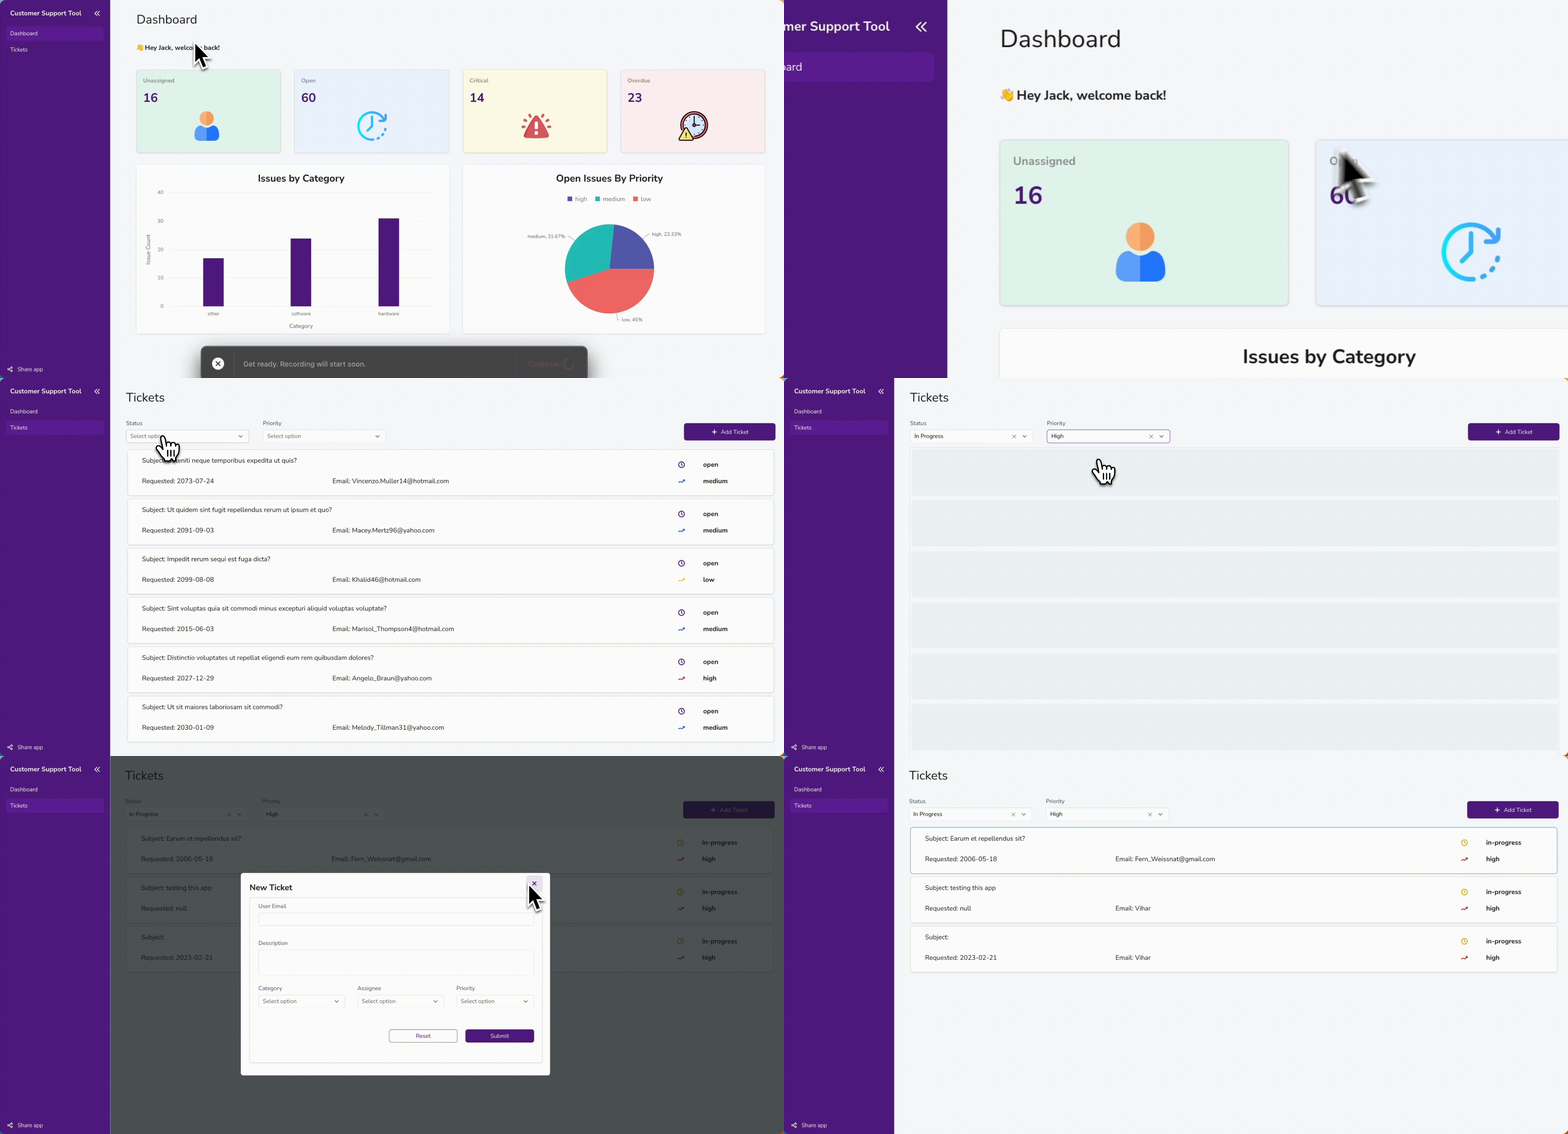
This tutorial guides you through the steps to create a Customer Support tool using Appsmith. The application contains a dashboard reporting the status of issues raised by customers. It also allows you to view, create, edit tickets and add comments. You'll learn to:
- Create a neat dashboard using the Chart and Stats Box widget.
- Use the List widget to display tickets.
- Use the Select widget to filter data in the List.
- Create and edit ticket details in a Modal.
- Write code using JS Objects.
Here's a view of the final result:

Let's get started!
Prerequisites
An Appsmith account. If you don’t have one, sign up on Appsmith Cloud.
Set up the application
On the homepage, click the + New button to the right of the screen under the default workspace. You'll land on a new application in the Edit mode.
Click the ⌵ icon on the top left next to the default application name. Select the Edit Name option. Rename the app to
Customer Support Tool.On the Entity Explorer to the left of the screen, you'll see that Page 1 is the default page on the application. Hover over the page name and click the ︙ icon.
Select the Edit Name option. Rename the page to
Dashboard.Create the + icon next to Pages on the Entity Explorer to create a second page named
Tickets.
